Correct Answer:
Explanation/Reference:
http://vanhybrid.com/2013/11/28/script-putting-exchange-server-2013-into-maintenance-mode/
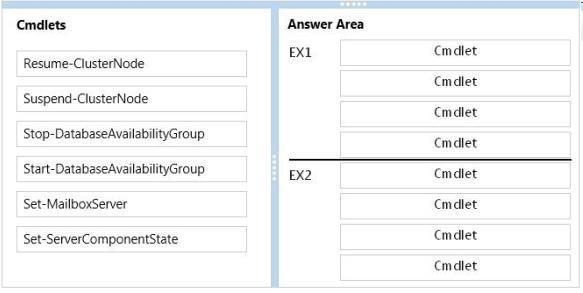
The process for putting an Exchange 2013 server into maintenance mode is relatively straightforward. To enable the Maintenance Mode, you must run the commands below.
If the server is a Mailbox server and before you can disable the transport service, all active queues need to be drained first. To help clearing out the queues, existing messages on the server will be moved to another server.
Please note that the TargetServer value has to be a FQDN:
Set-ServerComponentState -Component HubTransport -State Draining -Requester Maintenance
Redirect-Message -Server -Target <server_fqdn>
If the server is part of a DAG, you must also run these commands:
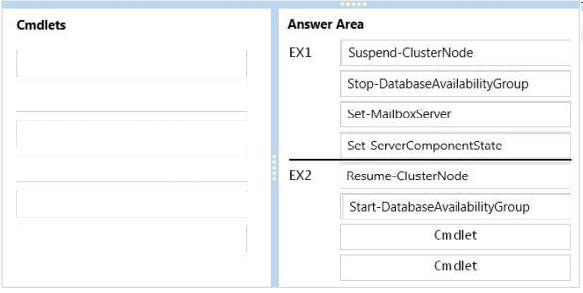
Suspend-ClusterNode
Set-MailboxServer -DatabaseCopyActivationDisabledAndMoveNow $true
Set-MailboxServer -DatabaseCopyAutoActivationPolicy Blocked
Once all queues are empty, you can disable all components:
Set-ServerComponentState -Component ServerWideOffline -State Inactive -Requester Maintenance.
Taking the server out of Maintenance Mode is a matter of simply reversing the actions we took to put it into Maintenance Mode.
First, we reactive all components:
Set-ServerComponentState -Component ServerWideOffline -State Active -Requester Maintenance If the server is part of a DAG, you need to reactive it in the cluster (by resuming the cluster node):
Resume-ClusterNode
Set-MailboxServer -DatabaseCopyActivationDisabledAndMoveNow $false
Set-MailboxServer -DatabaseCopyAutoActivationPolicy Unrestricted
If the server is a Mailbox Server, the transport queues need to be resumed as well:
Set-ServerComponentState -Identity -Component HubTransport -State Active -Requester Maintenance Although not explicitly required, it’s best to restart the transport services after changing their component states.
This ensures they ‘pick up’the changed component states immediately rather than having to wait for Managed Availability (Health Service) to take action.